

When migrating PST files to Office 365 (Microsoft 365), sometimes the migration process breaks mid-way due to throttling bottlenecks, network drops, or any other reason. When this happens, you must re-run the process. If you migrate the same PST file again, this will upload all your emails again in target mailbox, creating duplicate items. These items can increase the Office 365 mailbox size and make the import process time-consuming. In this article, we will discuss how to avoid duplicates during PST to Office 365 migration.
How to Avoid Duplicate Items during PST to Office 365 Migration?
You can follow the below methods to avoid duplicate items when migrating PST files to Office 365.
Method 1: Using the Import Service in Microsoft Purview
You can use the Import service in the Microsoft Purview portal to import PST files into mailboxes on Microsoft 365. There are two ways to do so:
- Network Upload: In this, you have to upload PST files to a temporary Azure Storage location on Microsoft cloud. Then, use the Import service for importing the files into the users’ mailboxes.
- Drive Shipping: In this method, you have to copy the PST files that you want to import to a BitLocker-encrypted hard drive. Then, physically ship this drive to a Microsoft data center. The data center personnel then upload the files to the Azure Storage location. Once done, you can use the Import service for importing the files into Microsoft 365 mailboxes.
When you import PST files using the Microsoft Purview import service, it uses a SourceEntryID-based matching system to check for a property stamp on each item in the target mailbox. When you re-import the same PST file into the same target folder, the items which were imported earlier have the SourceEntryId stamp. It matches this property and then skips the item to prevent the duplicates. However, it completely ignores other criteria such as email subjects, dates, sizes, or body text while checking for duplicates. So, if it does not find the SourceEntryID stamp, it can create duplicates.
Method 2: Using a Specialized PST to Office 365 Migration Tool
You can use a specialized PST to Office 365 migration tool, such as Stellar Migrator for Outlook to directly migrate PST files from a single or multiple systems to Office 365. It provides the Incremental or Delta Migration feature. If you have to restart the import job, the tool automatically detects previously uploaded mail items and skips them, thus avoiding duplicates. You can even import the PST mail items into a specific folder in Microsoft 365. It shows the real-time progress of the migration process.
Below are the steps to migrate PST files to Office 365 using this powerful PST to Office 365 migration tool:
- Download and install the Stellar Migrator for Outlook software on your Windows PC.
- Launch the software. You will see the Create migration job window. Enter the Job name and choose the Multiple Mailboxes option. Click Next.
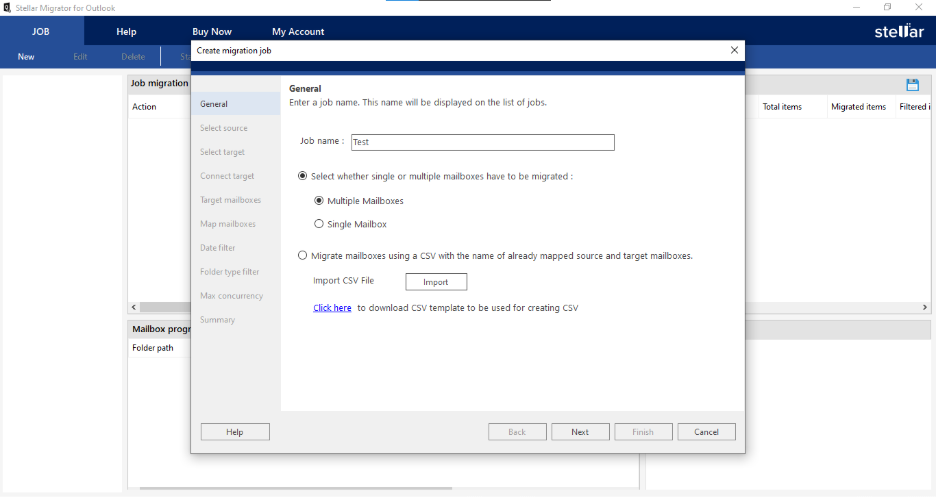

Note: You can also use the Migrate mailboxes using CSV option if you have created a .csv file containing the details of all the source and target mailboxes.
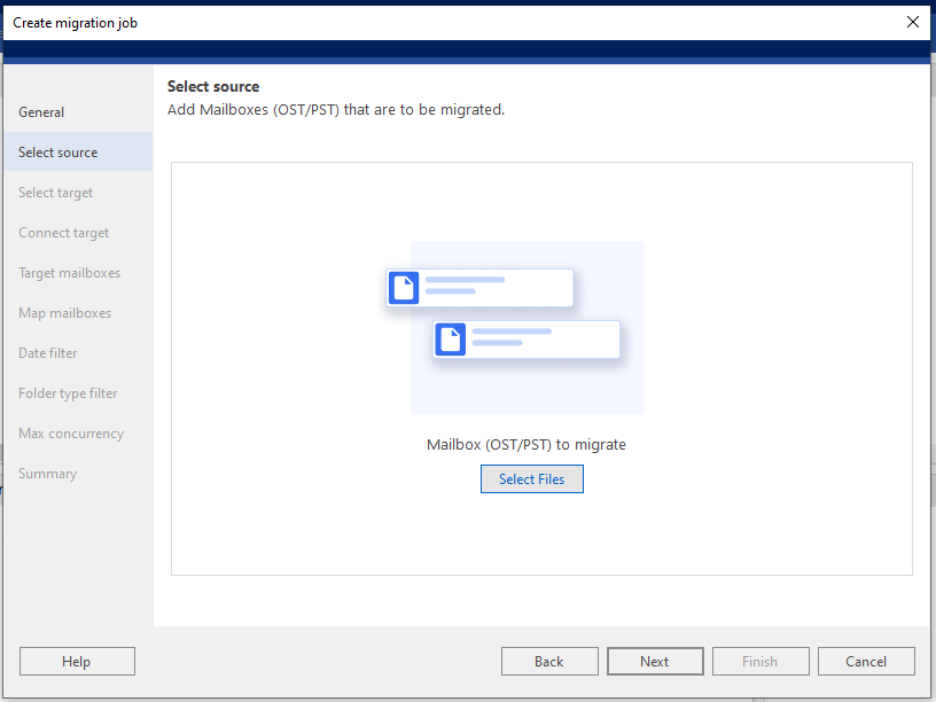
- The Select source window will appear. Click on Select Files to choose the PST files you want to migrate.
- Click on the Next button.

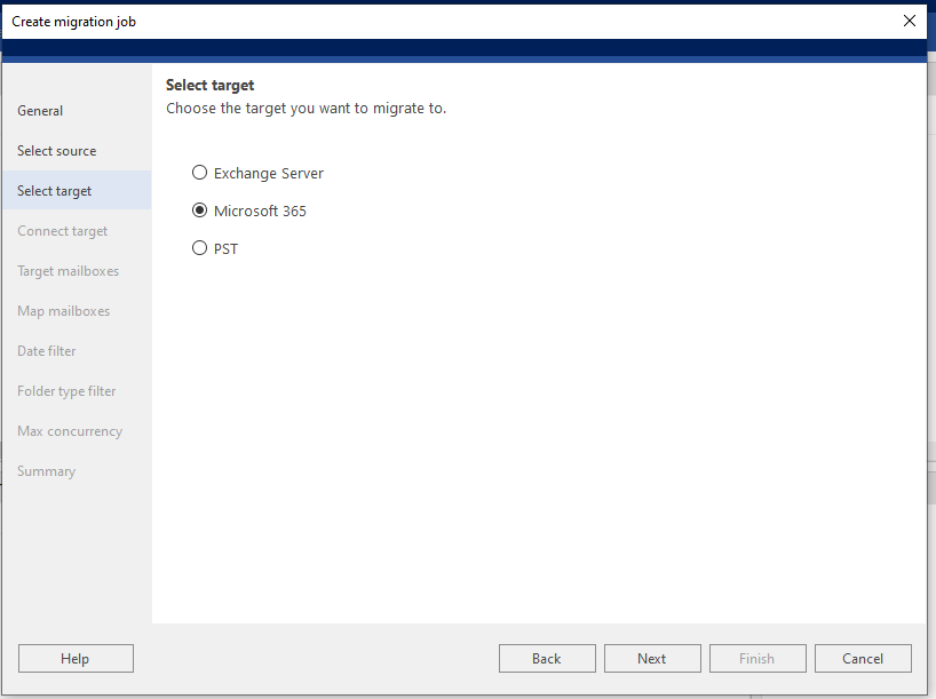
- The Select target screen will show up. Choose the Microsoft 365 option and click Next.

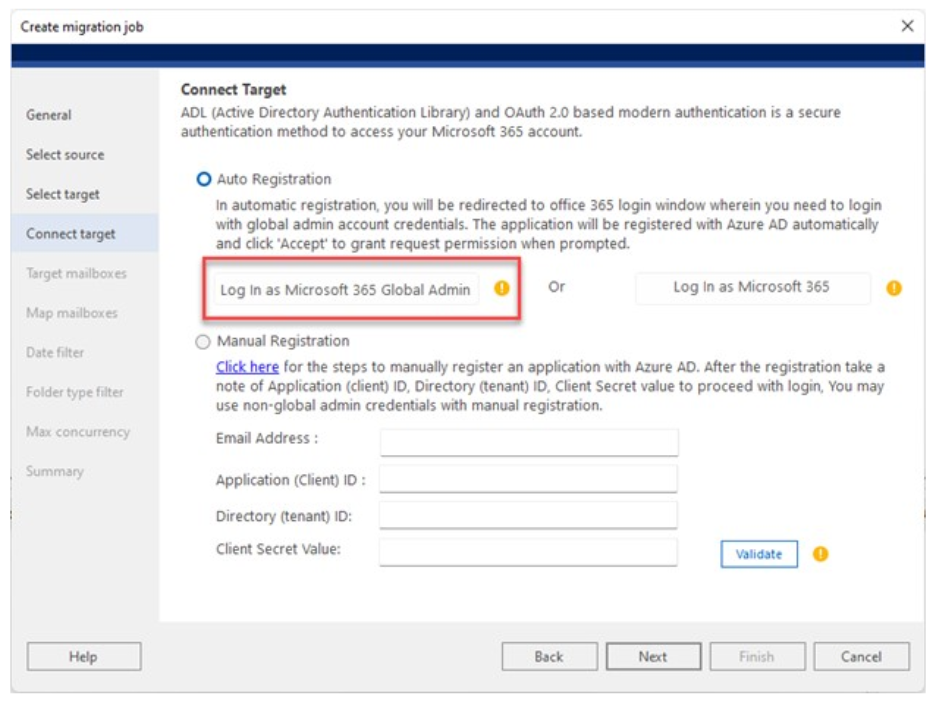
- Now, the Connect Target window will appear. Choose either Auto Registration or Manual Registration.
-
- Auto Registration – It allows you to automatically connect to Microsoft 365 by using an individual Microsoft 365 account credentials or Microsoft 365 Global Admin account credentials.
-
- Manual Registration – It requires you to enter the details, such as Email Address, Application (Client) ID, Directory (Tenant) ID, and Client Secret Value. Click on Validate after that.
- After the software successfully connects with O365, it will display a list of Target mailboxes that are found on Office 365 (target server). Here, you can preview and validate the mailboxes. Then, click Next.
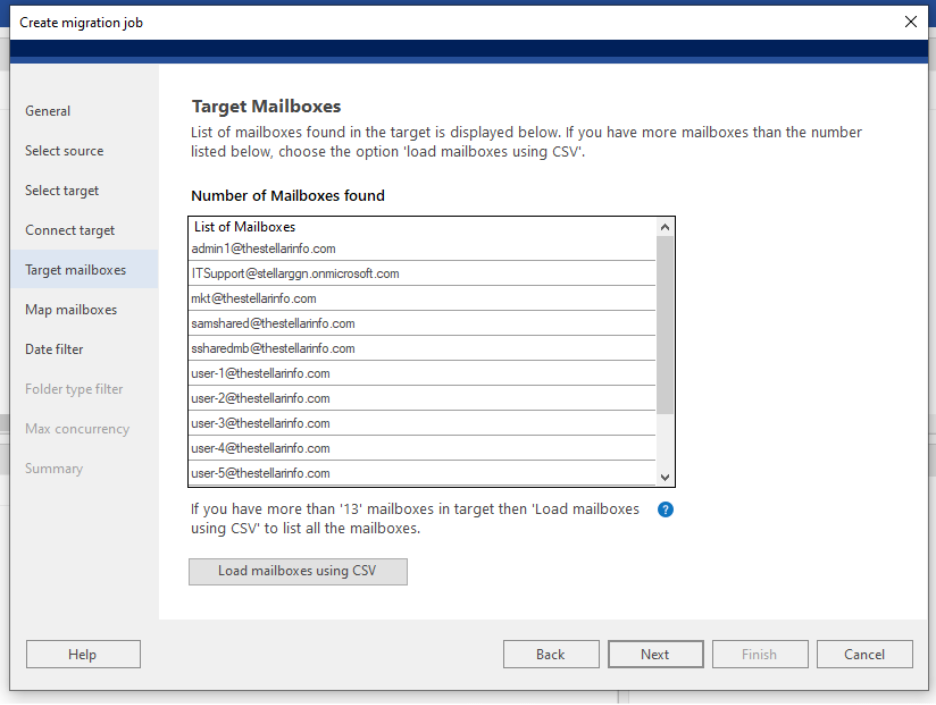

Note: If you have more number of target mailboxes than the displayed ones, use the Load mailboxes using CSV option to list all the target mailboxes.
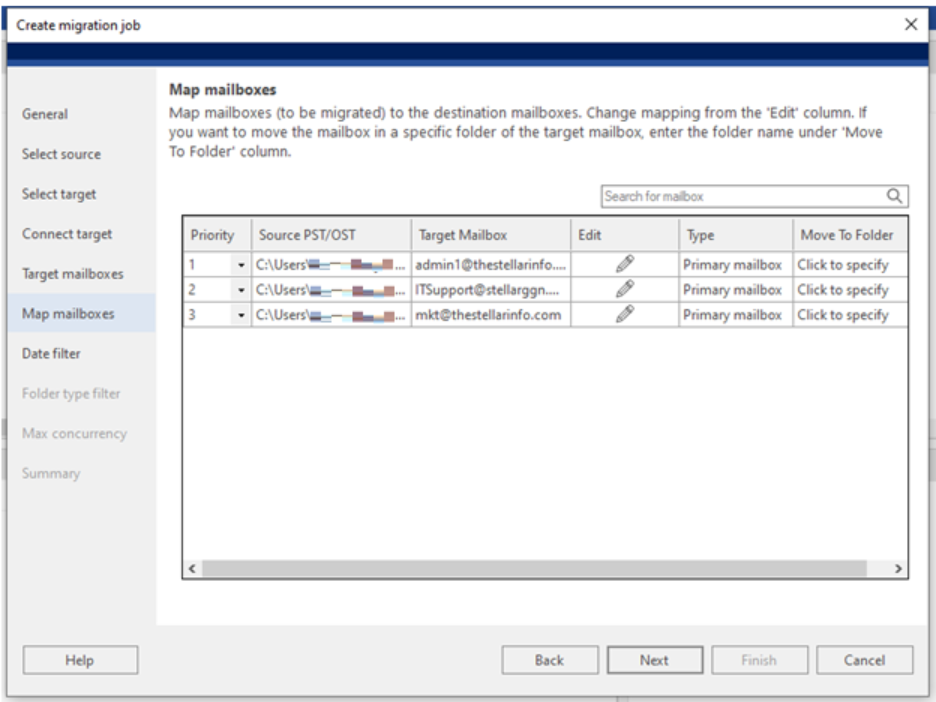
- Next, you’ll see the Map mailboxes screen. Here, the software will display source and target mailboxes. You can change the mailboxes mapping from the Edit column (Pencil icon). If you want to migrate PST file data to a specific folder, use the Click to specify option. Click on Next after finalizing the mapping.
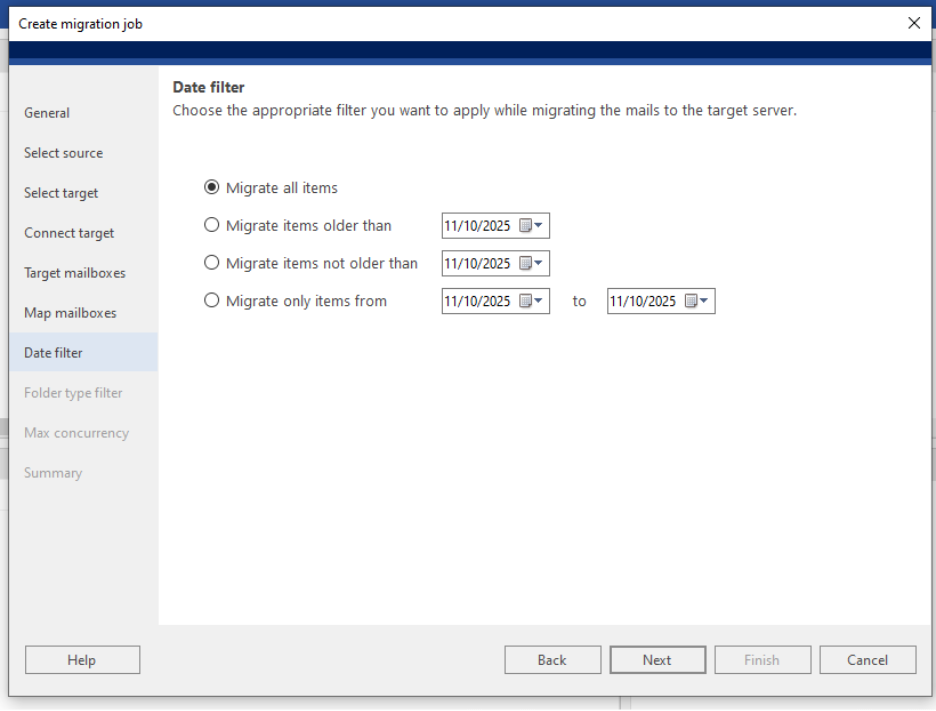
- The Date filter screen will appear. Choose a date filter option and click on Next.

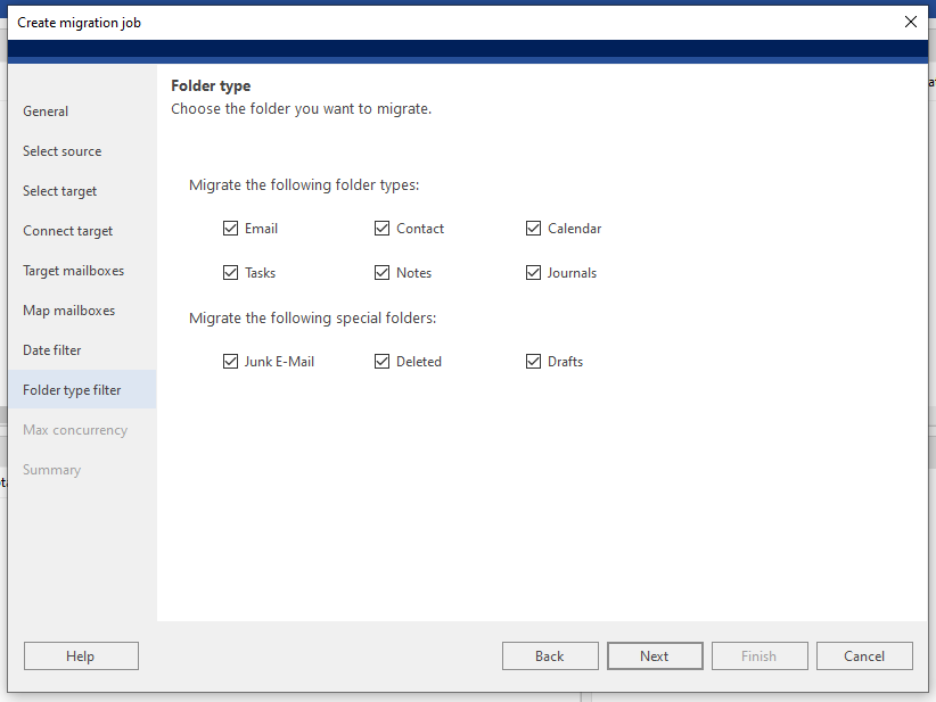
- Now, you’ll see the Folder type window. Select the folders you want to migrate. By default, all mailbox folders are selected. Click on Next.
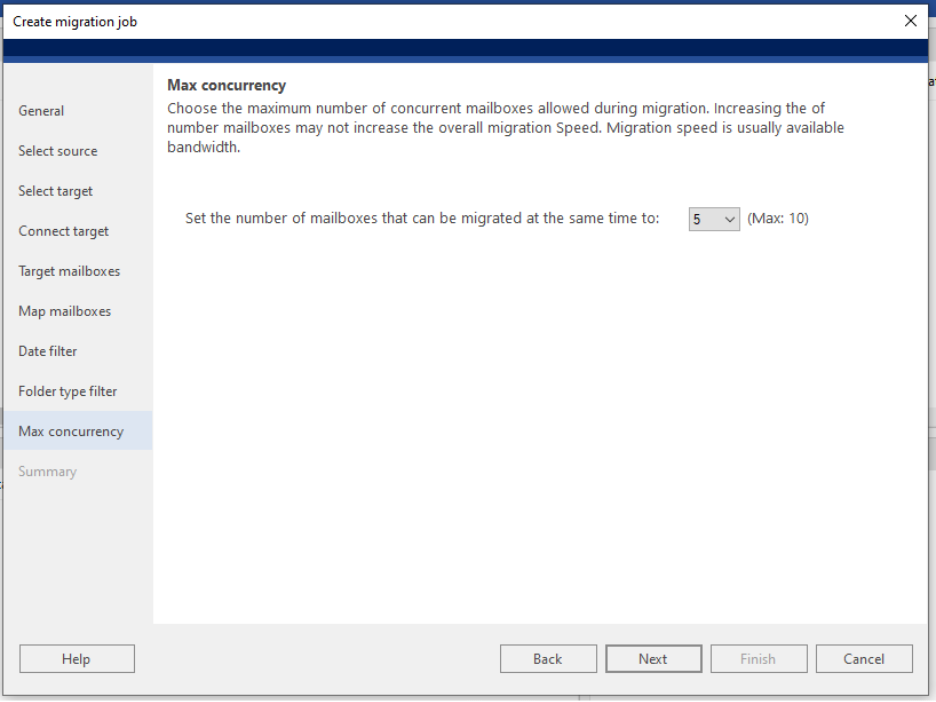
- On the next screen, you’ll see Max concurrency. This defines how many PST files can the tool migrate at the same time. Use the dropdown list to select the number of mailboxes to be migrated simultaneously. You can select a maximum of 10 mailboxes. Click on Next.
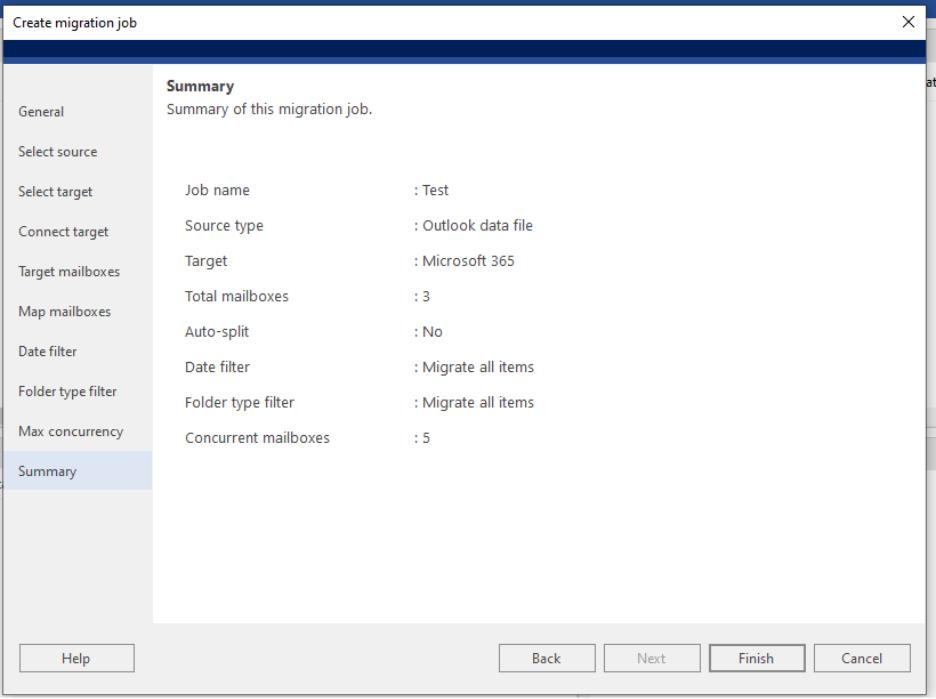
- Finally, the Summary window will appear. Review all the selected parameters before creating the job.
- After you have reviewed the selections, click on Finish.
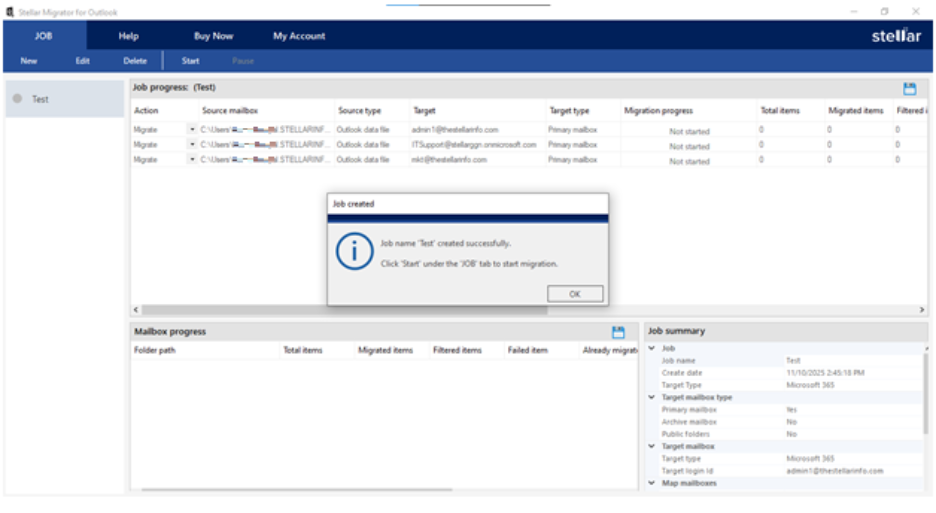
- You will see the Job created dialog box along with the Job listed. Click OK.

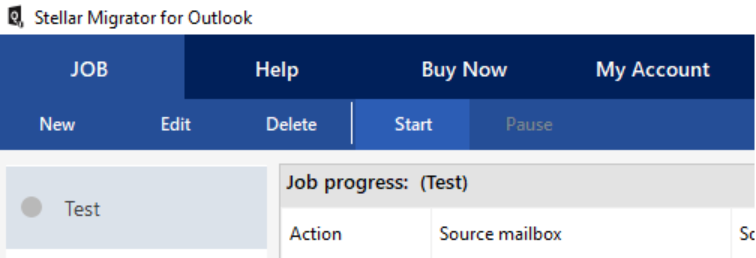
Now, click on Start in the ribbon to initiate the migration process.
- Next, click on Connect to log in to the licensing server.
- After the connection is established, the software will begin the migration.

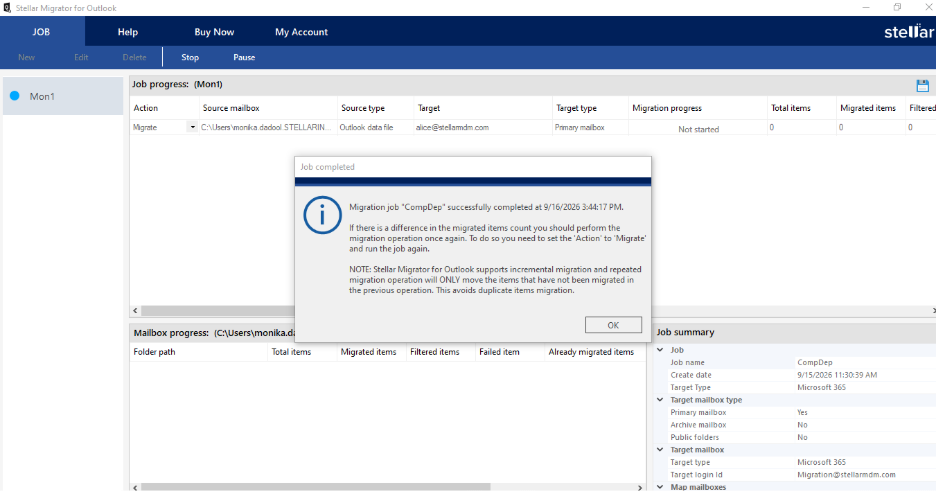
Once the migration is started, you can also track the progress of mailbox migration. After the migration job is completed, you will see the Completed status in the Mailbox progress window.
Steps to Re-run an Interrupted PST Migration using Stellar Migrator for Outlook:
To re-run or restart migrating the PST to Office 365 using the tool, follow these steps:
- Launch Stellar Migrator for Outlook.
- Go to the Job Overview dashboard and click on your migration job.
- Re-enter your Microsoft 365 credentials.
- Click the Start button in the top ribbon to resume the process.
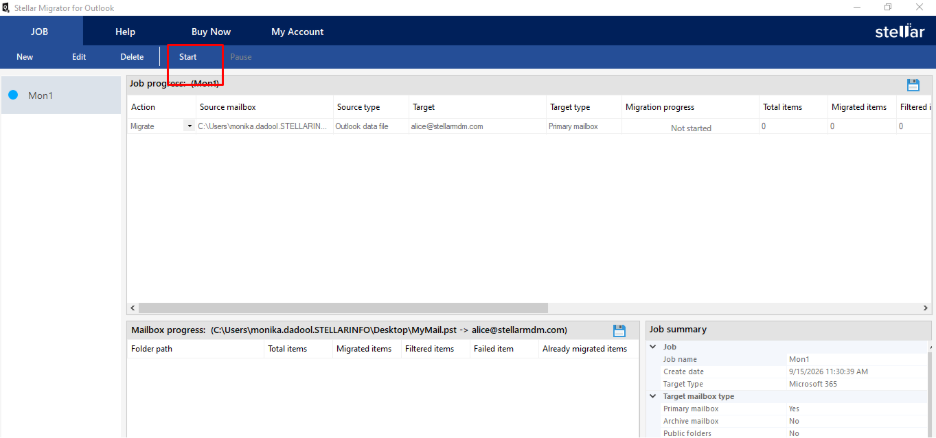

- After you click on Start, you will get migration job complete successfully….message as shown below. Click OK

Conclusion
If the PST to Office 365 migration stops in the middle, restarting the process from the beginning can lead to duplicate emails. These duplicates can cause confusion, increase the size of the Office 365 mailbox, and take up unnecessary cloud storage. This article discusses how to avoid duplicate emails during PST migration. You can use a professional PST to Office 365 migration tool, such as Stellar Migrator for Outlook. The tool provides incremental migration feature that automatically skips already uploaded items when you re-run the process, helping you to avoid duplicate mail items.