
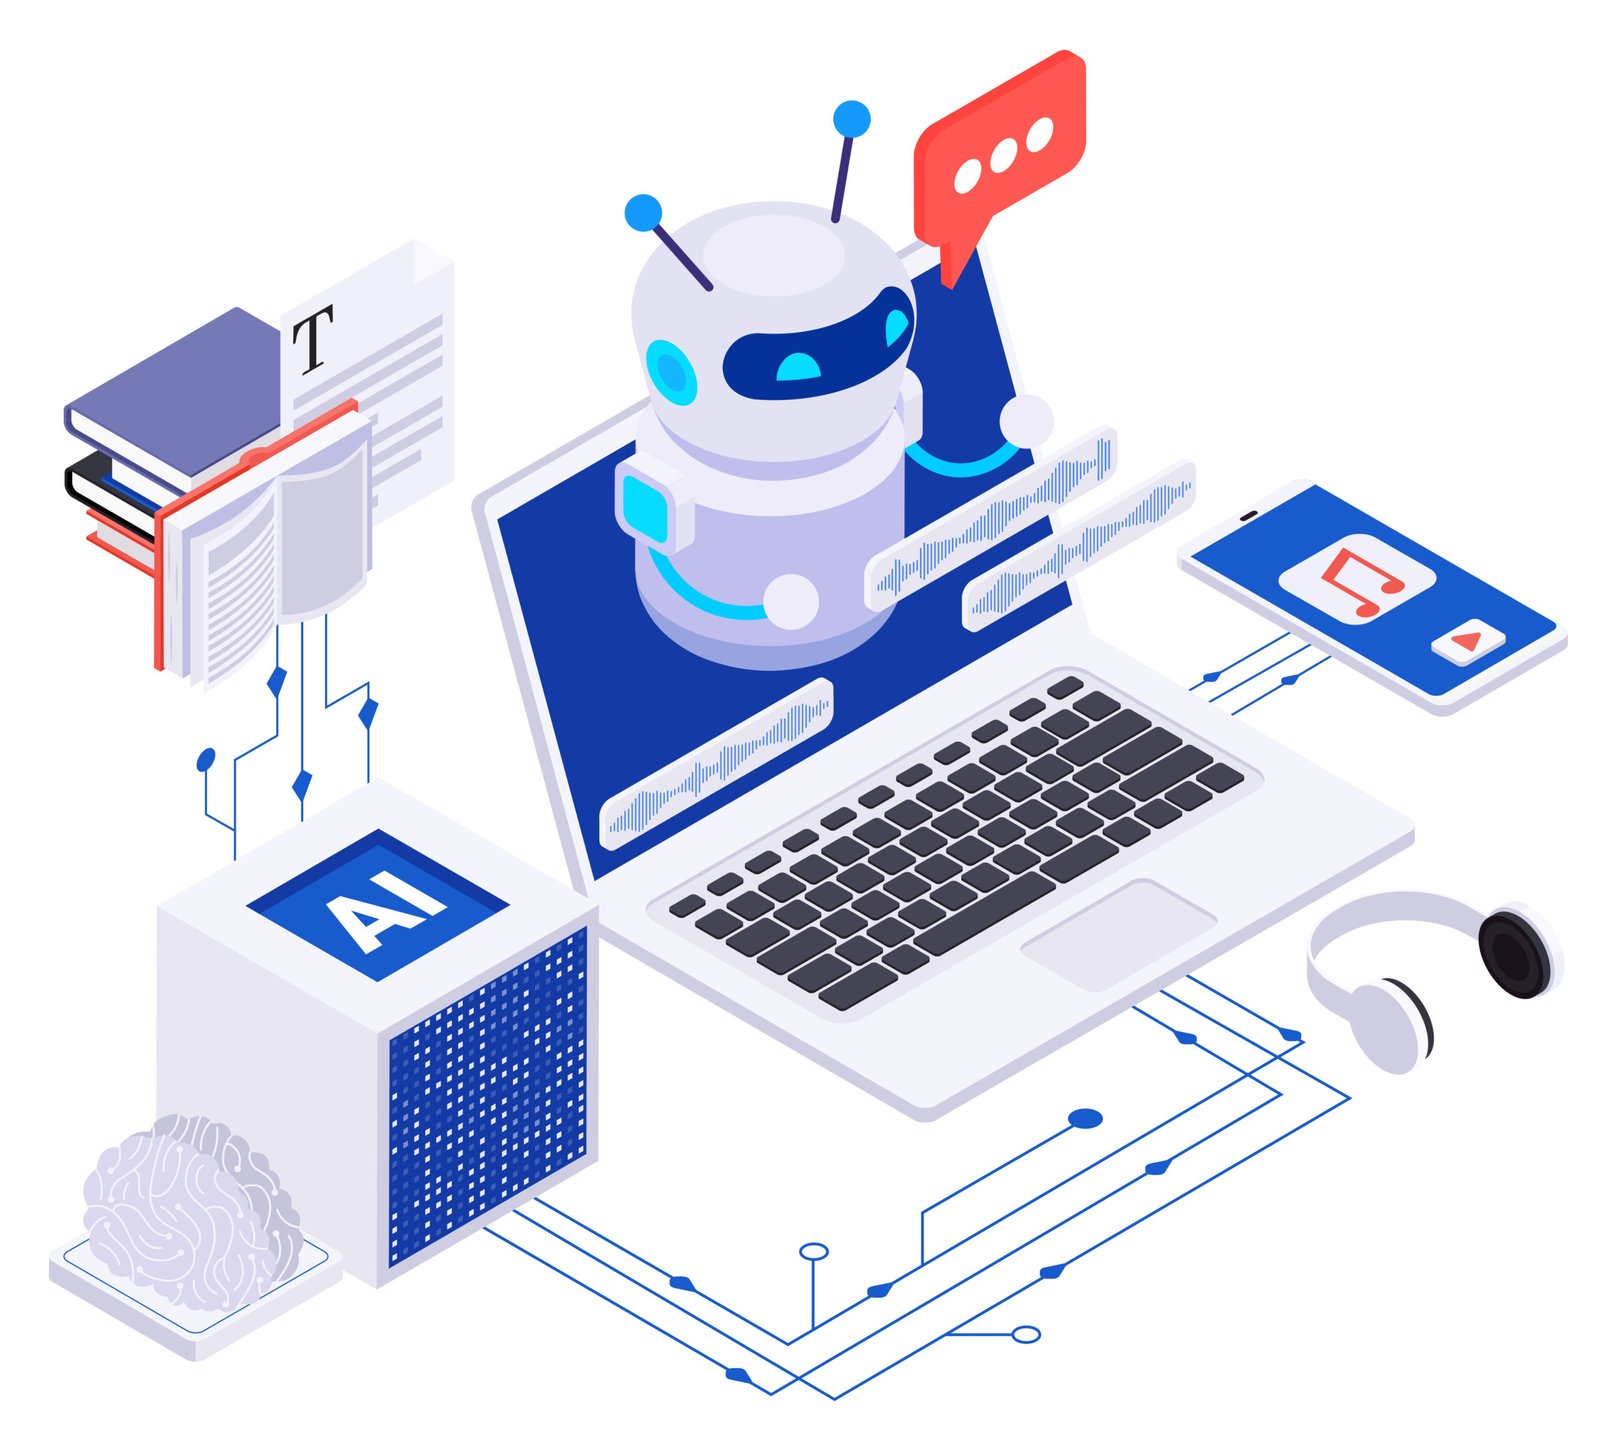
Introduction
In 2025, real-time AI chatbots are transforming user experiences, from customer support to interactive learning. By combining WebSockets for instant communication and TensorFlow.js for client-side AI, developers can build responsive, intelligent chat apps. In this tutorial, we’ll create a real-time chatbot that answers queries about space missions (e.g., ISRO’s Chandrayaan). With tools like Node.js and TensorFlow.js, you’ll learn to deploy a cutting-edge chat app. Let’s dive into building a 2025-ready AI chatbot!
Table of Contents
- 1. Why WebSockets and TensorFlow.js for Real-Time Chat
- 2. Key Concepts and Setup
- 3. Step-by-Step: Build a Space Mission Chatbot
- 4. Challenges of Real-Time AI Chat
- 5. Future of Real-Time AI Chat in 2025
- 6. Take Action: Deploy Your Chatbot
- Conclusion
1. Why WebSockets and TensorFlow.js for Real-Time Chat
WebSockets enable bi-directional, real-time communication, while TensorFlow.js runs AI models in the browser, reducing server costs. Together, they power:
- Low Latency: Instant chat responses for users.
- Client-Side AI: Run models without server overhead.
- Scalability: Handle thousands of users with WebSocket protocols.
- Job Demand: Real-time AI skills are sought by 35% of tech employers in 2025.
Project Idea: Build a chatbot to answer questions about ISRO’s space missions.
2. Key Concepts and Setup
Master these skills to build a real-time AI chatbot:
2.1. Setting Up a WebSocket Server
Why It Matters: WebSockets enable real-time, two-way communication between client and server.
Key Steps:
- Use Node.js with ws library for WebSocket server.
- Handle incoming messages and broadcast responses.
Code Example (server.js):
const WebSocket = require(‘ws’);
const server = new WebSocket.Server({ port: 8080 });
server.on(‘connection’, (ws) => {
ws.on(‘message’, (message) => {
const msg = message.toString();
ws.send(`Received: ${msg}`);
});
});
console.log(‘WebSocket server running on ws://localhost:8080’);
Get Started: Set up a basic WebSocket server.
2.2. Training a TensorFlow.js Model
Why It Matters: TensorFlow.js runs a pre-trained NLP model for chat responses in the browser.
Key Steps:
- Use a pre-trained model like Universal Sentence Encoder (USE).
- Map user queries to predefined responses (e.g., space mission FAQs).
Resource: Learn with TensorFlow.js for Beginners.
Pro Tip: Use lightweight models to optimize browser performance.
2.3. Integrating AI with WebSocket Client
Why It Matters: Combine WebSockets and TensorFlow.js for real-time AI responses.
Code Example (client-side, index.html):
<script src=”https://cdn.jsdelivr.net/npm/@tensorflow/tfjs@latest”></script>
<script src=”https://cdn.jsdelivr.net/npm/@tensorflow-models/universal-sentence-encoder”></script>
<script>
const socket = new WebSocket(‘ws://localhost:8080’);
let useModel;
socket.onopen = () => console.log(‘Connected to WebSocket’);
socket.onmessage = (event) => {
document.getElementById(‘chat’).innerHTML += `<p>Bot: ${event.data}</p>`;
};
async function loadModel() {
useModel = await use.load();
console.log(‘Model loaded’);
}
async function processMessage() {
const input = document.getElementById(‘input’).value;
const responses = {
‘chandrayaan’: ‘Chandrayaan-3 landed on the moon in 2023, led by ISRO.’,
‘isro’: ‘ISRO is India’s space agency, launching missions like NISAR.’
};
const embeddings = await useModel.embed([input]);
const query = input.toLowerCase();
let response = ‘Sorry, I don’t understand.’;
for (let key in responses) {
if (query.includes(key)) {
response = responses[key];
break;
}
}
socket.send(response);
document.getElementById(‘chat’).innerHTML += `<p>You: ${input}</p>`;
}
loadModel();
</script>
<input id=”input” type=”text” placeholder=”Ask about ISRO missions”>
<button onclick=”processMessage()”>Send</button>
<div id=”chat”></div>
Get Started: Build a simple chat interface.
2.4. Ensuring Security and Scalability
Why It Matters: Secure and scale WebSocket connections for production.
Key Steps:
- Use WSS (WebSocket Secure) with TLS.
- Implement rate limiting to prevent abuse.
- Scale with load balancers (e.g., AWS ELB).
Resource: Explore Web Development Security.
Pro Tip: Test scalability with tools like Artillery.
3. Step-by-Step: Build a Space Mission Chatbot
- Set Up Node.js Server:
- Install Node.js and ws: npm install ws.
- Run server.js from Section 2.1.
- Create Client Interface:
- Create an HTML file with the client code from Section 2.3.
- Add TensorFlow.js and USE scripts via CDN.
- Train AI Model:
- Use a pre-trained USE model for simplicity.
- Map queries to responses (e.g., “Chandrayaan” to mission details).
- Test Real-Time Chat:
- Open the HTML file in a browser.
- Test queries like “Tell me about ISRO” or “What is Chandrayaan?”
- Secure and Deploy:
- Add WSS with a TLS certificate.
- Deploy on AWS EC2 or Heroku for production.
Project Idea: Build a chatbot to answer real-time queries about ISRO’s 2025 missions (e.g., NISAR).
4. Challenges of Real-Time AI Chat
- Latency: WebSocket connections may lag under heavy loads.
Solution: Optimize with load balancers. - Model Size: Large TensorFlow.js models slow browsers.
Solution: Use lightweight models like USE. - Security: Unsecured WebSockets risk data leaks.
Solution: Implement WSS and rate limiting.
5. Future of Real-Time AI Chat in 2025
- Multimodal AI: Chatbots will handle text, images, and voice.
- Edge Computing: Run models on edge devices for faster responses.
- Personalized AI: Tailor responses to user history.
Pro Tip: Stay updated with Emerging AI Trends 2025.
6. Take Action: Deploy Your Chatbot
- Start Coding: Set up the WebSocket server and client.
- Learn TensorFlow.js: Explore TensorFlow.js for Beginners.
- Test Locally: Run the chatbot and test space mission queries.
- Deploy: Host on AWS or Heroku.
- Share: Add to GitHub and showcase on LinkedIn.
Conclusion
Building a real-time AI chatbot with WebSockets and TensorFlow.js is a 2025 must-have skill for developers. This tutorial showed you how to create a space mission chatbot, from server setup to AI integration. Take the next step with Eduonix’s courses, deploy your chatbot, and level up your portfolio!