I get asked often about how to launch a site utilizing WordPress. While it takes some time to make your own site and it’s frequently more challenging than what most of people think it’s, once you get hang of it, then it is really very simple. Here are the 10 easy steps to getting a WordPress site launched:
1. Purchase a domain name
It is one among the first things which comes to your mind when thinking about a new site: what will you call it!? In case you do not have a name, then you can brainstorm diverse names. Domain names cost your around $10 typically; however, coupon codes are available to help you cut down on the initial purchasing costs.
2. Setup hosting & WordPress
After you acquire the domain name, you will need to acquire hosting. Once you follow steps to establish your hosting account, then you’ll get your account IP address. You can find the account’s IP address on the hosting account’s admin panel. You will need to take the IP address to the domain registrar account and move into the DNS Manager. Wherever you see A Record, replace default value with the IP address from hosting provider, and put everything as the same. Click on “Update”. It will take about 1 – 24 hours only to take effect. While you’re waiting for the changes to take effect, move ahead and install wordpress through hosting and start outlining your pages. After you’ve installed wordpress, you will get a username as well as password.
3. Setting up basics
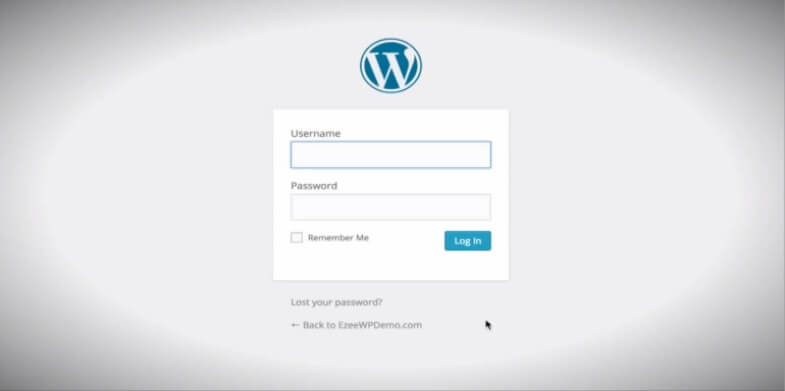
You will know that the changes have taken effect, when you type your domain name in a browser and you see the registrar page show up. Whenever you see this, it means you’re good to go. You’ll wish to login to WordPress website admin panel or backend. Type in the URL (domain name) and add the /wp-admin at the end. It’ll bring you to the admin login page on which you will enter your username as well as password.
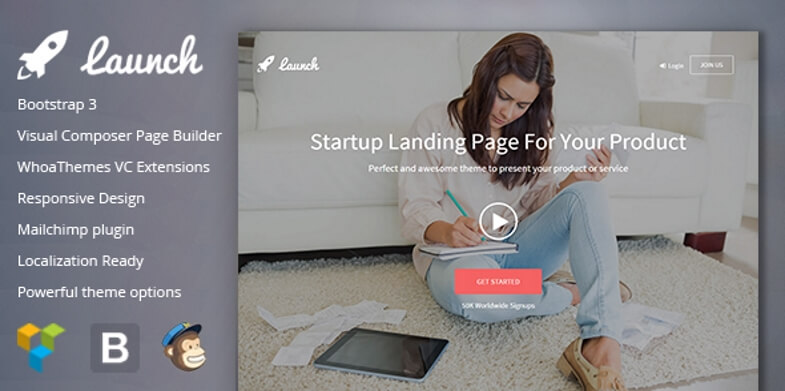
4. Select & install theme
Finding a good theme can really be a great pain, but there are hundreds of themes available (free and paid) that can help make your website stand apart. It can take a little time to find out a great theme, but selecting a great theme will definitely make a big impact on the end results of your website. There are lots of places to purchase themes. Each theme typically comes with documentation.
5. Set up pages & menus/ navigation
In order to set up navigation menus, posts, and pages for your website, it is a great idea to take a little time to think about the use of your site and how to achieve your goals in the best way. Is your site meant to get clients to your own business? Is it made to communicate information, earn money through marketing? Get individuals to sign up or purchase something? After you think through such questions, work on placing the most imperative things on homepage, along with some important “call to actions”.
Make an outline about what you believe the page will be. Name those pages, and make each page by simply clicking “Add New” below the “Pages” tab. Every page must have title and content. Finally, make your menus. Every theme has one or even more menus, generally under the Main Navigation menu, along with Footer Navigation menu sometimes. Create them in “Appearance > Menu” section. Then name the menu something such as “Main Nav”, add desired page and drag it to reorder, and assign “Main Nav” to Main Menu using drop down. Make sure to save.

6. Upload & input your content
You probably envision text and images on your site, right? Now is the right time to add them to your website. Add content to your website by clicking on every page and adding images and words in the content editor. WordPress has some excellent text editing abilities and you can utilize the “visual editor” for it if you want, or if you want to edit through HTML tags, use “text editor.” In case the website will include a news section or blog, create some posts to get everything started. If you already have great information or content to begin off with, put that there itself. If not, just make a “Launching our new site” post and incorporate a short writeup of what the site will concentrate on and what clients/visitors can anticipate to find on the site. This does a lot more for website visitors than any “Lorem Ipsum” filler texts, and it even gets the SEO off to some type of a start at least.
7. Install essential plugins
The plugins are like small packages that you may add to WordPress in order to make your website do extra things which it could not do otherwise actually. There are hundreds of plugins nowadays. So you may need to do some searching to find the ones that are right for you. Thefind out which plugins will be best for you, you can either;.visualize the features which you want to have on your website and perform a search for the WordPress plugins that perform that thing; or look at the list of top twenty WordPress plugins and observe if any among them will be a great addition to your website.
8. Set up sidebars and widgets
Typically, every theme will have default widgets that are already activated . Widgets essentially are little areas on the website where you can place things like text, links, plugins, and other things. Since widgets are automatically activated naturally, you’ll wish to deactivate the one that you don’t need and activate the ones you do.

9. Design front page
You can add extras to the front page. These can be images, videos, boxes, share/ social follow tools, etc. You will also want to add text content to inform visitors what the website is about when they arrive on the front page.
10. Optimize for SEO, set up your dashboard and install analytics
An imperative step in setting up your WordPress website is to help your website be discovered by the search engines. This is why it is important for you to focus on optimizing your website for SEO and installing Google Analytics.
Optimizing the site for SEO can actually take some time, however there are certainly a few things that you can do to get started. You’ll also wish to set up the website to track statistics and analytics on your site. Finally, set up the WordPress dashboard. It is the topmost left tab in the admin area.