Java offers support for both single thread and multi-thread operations. A single thread program for instance has just a single entry point and a single exit point. A multi-thread program on the other hand has an initial entry point, which is followed by many other entry points and exit points. These other entry and exit points run concurrently with the main entry point. When these points run concurrently with the main point, it means that multiple tasks are being done at the same time. Java has an inbuilt support for concurrent programming, which is shown by the ability to run multiple threads concurrently within a single program.
A thread in this case is a lightweight process, which is basically a single sequential flow of programming operations. A single thread has a definite beginning and a definite ending. The entire thread has a single point of execution.
Java’s recent enhancement has increased ways in which the code can be structured in order to incorporate multi-threading in its programs. Here are three techniques for writing multi-threaded code in Java from which you can choose the one you will use for your next Java project:
1. Extending the thread class
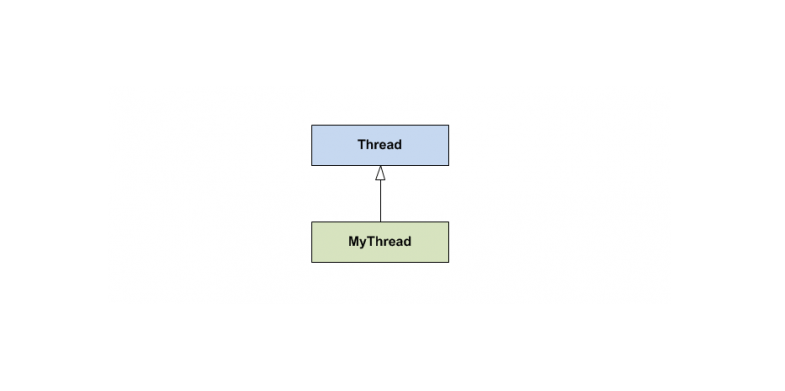
Java offers a Thread class, which can be extended in order to implement the Run() method, where you will execute your tasks. When you want to begin a task in its own thread, you can create an order of this class so as to invoke its Start() method. This will start the thread implementation and it will run to completion or until it is terminated.
A simple Thread class can be allowed to sleep for a specified period of time as a way of simulating a long-running operation. You can create an instance of this Thread class by specifying the amount of time it needs to sleep in milliseconds.
You can then kick off the execution of this worker thread by triggering its start() method. When this is done, the control is returned immediately to the caller, without waiting for the threat to terminate.
The diagnostic of the main thread is printed before the execution of the worker thread. Since there are no more statements after the worker thread was started, the main thread will have to wait for the worker thread to finish before the program exits. The worker thread is therefore given time to complete its task.
2. Using a thread instance with a Runnable

You can also use Runnable, an interface provided by Java. Instead of extending the Thread class as explained above, this interface can be implemented by a worker class so as to execute the task in its run() method. This is another effective way of creating a worker class. The advantage in using this technique is that the worker class is able to extend a class with a specific domain within a class hierarchy.
If for instance you have an Instrument class, which implements certain characteristics of different types of instruments, you can easily implement a Guitar class with special characteristics of instruments. This can be achieved by having the Guitar class as an extension of the Instrument class.
If you have a task that is likely to take much of your time that Guitar class needs to support, and it can be performed in a separate thread, you should be able to handle this easily by having he Guitar class implement a Runnable and provide the run() method where the task will be performed.
In order to kick off the worker thread, you will start by creating an instance of the worker class, and then hand it over to the thread instance at creation. Once you invoke the start() method of the Thread, the task will execute in a separate thread.
3. Use ExecutorService to Execute a Runnable

Java provides ExecutorService as a new paradigm that starts with Java version 1.5. This can be very useful in the creation and management of threads within a program. ExecutorService works through generalization of the concept of thread execution by conceptualizing the creation of threads.
It is important to note that running tasks within a pool of threads is just as easy as running them using a separate thread for each task and this is what you achieve through this technique. This way, your program is able to track down and manage the number of threads that are being used for worker tasks.
If for instance you have over 100 worker tasks that are waiting for execution and you start with one thread per worker task, you will end up with 100 threads, all within one program. This might cause blockage somewhere within the program. Instead of all that, you can use a thread pool with an allocation of fewer threads, say about 10. This way, your 100 tasks will be executed by these threads a task at a time and your program will not jam up or even run out of resources. These threads can also be configured in such a manner than they hang around in order for them to run other tasks for you.
Good thing with using ExecutorService is that it accepts Runnable tasks and it is able to run tasks at a suitable timeframe.
ExecutorService is a more modern facility that can easily be used to create threads. It can accept a Runnable instance as a task to run. With this method, you can use a thread pool for task execution, which helps a lot to conserve resources since you can reuse the threads for other tasks.
Multithreading can be very useful as a way of increasing the performance of certain types of programs. It can however be challenging because the threads are executing within the same program, therefore they are reading and writing the same memory at the same time. It has great benefits though, for example it can be used to achieve simpler program designs in some situations. It also ensures better resource utilization and can be used to create more responsive programs.