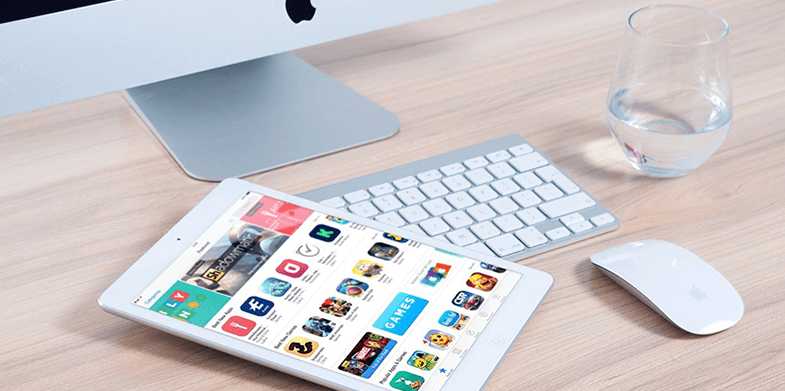
The app store review guidelines for Apple developers are comprehensive, intimidating, and can take a long time to sort through. The pitfalls of not understanding this information upfront include increased rejections and costs to modify the app before launch. There are currently over a million apps in the app store, so options for new products are competitive and limited. The following advice has been curated to help you solve potential problems upfront in order to ensure a speedy approval process.
1. Make Sure Your App Has a Unique Purpose

Because so many apps currently exist, the risk of duplicating another concept is high. A commonly cited example is the flashlight application, because market demand is currently saturated. Keep this in mind when developing ideas for your project in the initial stages. If it has been done many times before, chances are your version will be turned down. You can also check our post on “How to Optimize Mobile Apps for App Store” which will guide you for some tips.
2. Keep It Kid Friendly
There are many, many ways for an app to be denied based on content. The most basic suggestion is to keep it appropriate for all age levels. Avoid religion, politics, pornography, gambling, violence, all illegal activity, and you should be fine. Anything that is designed to automatically upset users will be automatically rejected. Even a simple chat app could be pulled from the store if it gains an unsavory reputation through the way it is used.
3. Match Professional Quality Development

The official guidelines state that many serious developers do not want to display their work alongside “amateur hour.” This translates into striving to be better than your competition. Avoid submitting unfinished work, or rushing through it just to go live. Chances are this behavior will only hold you back. Enlist the services of quality professionals to complete each stage, instead of trying to do it all yourself.
4. Get Rid of Bugs
Extensive testing needs to be completed before the official review. If Apple detects a bug, they will send your rejection back with a report of the problem. One of the setbacks to this process is that you will only receive one reason for the rejection per submission. This means that if you have multiple errors, it will take a long time to report and correct them. Having a thorough testing strategy in place beforehand will speed up this process, and eliminate weeks of wait-time.
5. Size Needs to Stay under 100mb

The 100mb size limit is intended to keep a handle on download time. This applies to apps that can be downloaded over the cell network, as opposed to Wi-Fi only. Size limits are not a problem for most properly constructed applications, but can still be a challenge for graphic-heavy games.
6. Spell Apple Product Names Correctly
Image is important to Apple. Any reference to an Itunz or Iphone will get you banned. Learn the lingo, and screen for it carefully during your own review process. Additionally, any attempt to replicate an Apple product or interface will cause trouble. Aim to be a poster child for the brand, and you will go far.
7. Comply with User Interface Guidelines

This is an important category to pay attention to, because there are many standards that must be met. Any attempt to create a product that looks anything like an Apple creation will be denied. Simple interfaces are preferred, and complex designs may be rejected. Making your app accessible on many devices is essential. Avoid bezels, gradients, and drop shadows. Using translucent elements, legible fonts, and ample negative space is suggested.
Also Check: Top 5 Growth Hacking Tools for the App Store
8. Choose Simple over Complex
Implementing a single color to guide the user through the app is a good way to provide clarity. Animations should be subtle, but are also encouraged. Design choices should be cohesive both within the app, and alongside the rest of the branding. Refrain from placing your logo on every page in order to avoid clutter.
9. Integrate Open Source Tools
Apple supports the use of open source software, and encourages developers to follow that trend. Swift, their programming language, is easy to learn and integrate. Benefits of using open source include better security, performance, and collaboration.
10. Don’t Present a Beta Version
Putting the finishing touches on your app is essential before submitting it to Apple. Any bugs or design flaws will negate any hard work you have put into it. Be wary of using the words beta or test anywhere in the app, because it is considered a giant red flag that the app may be unfinished.
11. Have Enough Money to Pay for a Developer’s License

To become an Apple developer, you must pay the necessary fee. A license is $99 per year for an individual membership. These apps will be released in your name. The price is the same for organizations, unless you want to distribute only to your company’s employees. In that case, the developer’s fee goes up to $299.
12. Be Prepared for Multiple Rejections
Because there are so many guidelines, it is easy to miss a requirement during the build. Due to the large number of available apps, approvals have become more difficult to achieve. If an error is detected, a review will be sent to the developer with information on what to fix. Not all slipups may be caught and reported the first time, and may be noticed during subsequent submissions.
13. Add Additional Features after the App Is Approved
Keeping your app as streamlined as possible is crucial to getting it live. If you have plans for ambitious features, hold off until the app is in the store. You can always add them later in the form of updates. With Apple, greater complexity leaves more opportunity for rejections.
14. Don’t Trash the Process on Your Blog

If the process becomes frustrating, try to find a way to be patient and work through it. In their guidelines, Apple states that saying anything negative about the brand in a public forum can get you banned permanently.
Conclusion:
Learning about what you need to carry an original app from conception to download is an important first step. Crafting a comprehensive strategy can prevent bumps in the road later on. Enlisting professionals for graphics, coding, and testing will give your app the highest quality that it needs to be accepted by Apple.
