
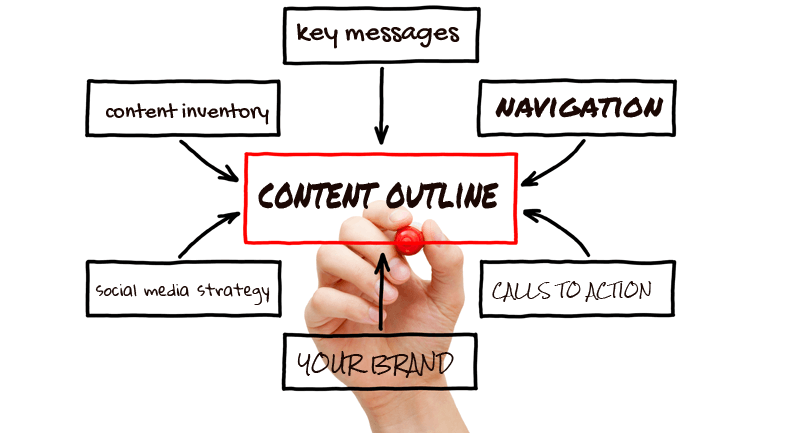
A content outline is the main information structure deliverable for a website, whether new or redesigned. It is the main supporting structure for the sitemap. Every website needs a content outline as it showcases the new, old and revised content of every website. Editors and copywriters will need the outline as a guide when writing a new website or revising the old one. In order to put the website content outline in perspective, the goals and strategies for that website have to be identified, then an account of all the existing website content has to be done. After that, the content outline will be created. Here is how you creatively write your content outline:
1. Plunge into the source material
Start by familiarizing yourself with the project or the client you will be working for. You can take as much time as you need for this, depending on the number of pages a website has. Some information will not be straightforward and you have to really poke around in order to understand exactly where everything that you will be working on fits. Sometimes you will be faced with some challenges, for instance some hidden pockets of pages, some outdated pages, totally confusing or contradictory information, broken navigation among other challenges, which can be overwhelming. That is why you need to take enough time to understand the website better.
Going through everything at first will also help you figure out what is important and what is not, so as to pick out the information you will be working with on your project. Do not look through the website and internet only but also in any print material you can come across. Some companies for instance will spend more time and resources in publishing materials than in updating their websites, therefore look for print material related to the project as well.
2. Sketch the top level sitemap
Now that you have understood how your project looks like, come up with the main navigating labels. These are the main elements of every site. Some of the labels you can consider using are for instance the home page, about page, services, testimonials, contact us among others. The labels you will use mainly depends on the kind of website you are dealing with. Use some footer links at the bottom too, to guide the users to other pages that talk more about the brand the website is promoting. Labels can be grouped into sets if there is need to. You can play around with them too in order to make them a little different from what other websites are doing. After this, you can sketch the home page and if you are okay working with what you have at that instant, you can proceed.
3. Fit in the ideals
This step is all about filling out the next level from memory. Start with the first label you have and fill in with the most ideal information type you would like to have on that page. This again depends on the kind of website you are working on. If for instance the website is about a school, the home page will have ideals like admissions, a checklist for requirements to join, a class profile, dates and deadlines and so on. The rough sketch should be done for every section so that you will have time to come up with unique and important levels in every label before you start working on the project. The best way to come up with the best levels is through consideration for the goals of the business rather than the content that is already in existence.
4. Insert in the reality
This is the part where you pick through the source materials in order to fill all the blanks you have created. Make some notes in the outline for those pages that you have combined and also for the new copy or for the information that is good and applicable. Include ideas you have for the wireframes as well. You can for instance decide to add an event feed from the calendar for the specific project you are working on. On this stage, you also come up with basic descriptions for the pages you have included and the suggestions you have for their callouts. After this, you will have touched about every page you will have on the website a few times, making the project clearer and eventually easier to work on.
5. Add some notes and then make a sitemap
It is always good to state clearly what is guiding you through the entire project, like a plan or an idea, as well as the techniques and strategies that you have used in order to accomplish the entire project. This point should not be about the best practices that everyone can use on their projects but about your unique approach for that particular project. You can also state some or all the major issues that you have come across particularly those that you hope to address in the future. After that, make a sitemap if you need one for the website, then you can test it if you are able to, just to ensure that it will fit perfectly on the project you are working on. Make changes if there are any required before you sit back to enjoy the success of your project.

A good content outline is important as it expresses the vision for a new website. This is what will set the expectations for the number of pages you will have on your website as well as how much work is needed for the website to be ready for launching. It is one of the most important steps in the building of a website, after which the content writers will start working on the website content. This is what makes the building of a website much easier because after this, the website will be off to a solid start, whether small or big.