Using audio on your website can be a very effective way of reaching your intended users. A lot of website developers shy away from the use of audio though, unless if they are designing websites for radio commercials. One of the ways you can engage your users fully is if you allowed them to multitask a bit, something that is considered as part of everyday life. Audio communicates differently than written content, and a lot of users will find it easier to connect to you through audio than they can by going through your website content. Users who have no time to go though the entire content or to watch your webinar can listen to your audio even if they are occupied with something else. That is why you need to learn how to put audio on your WordPress Blog:
1. Automatically
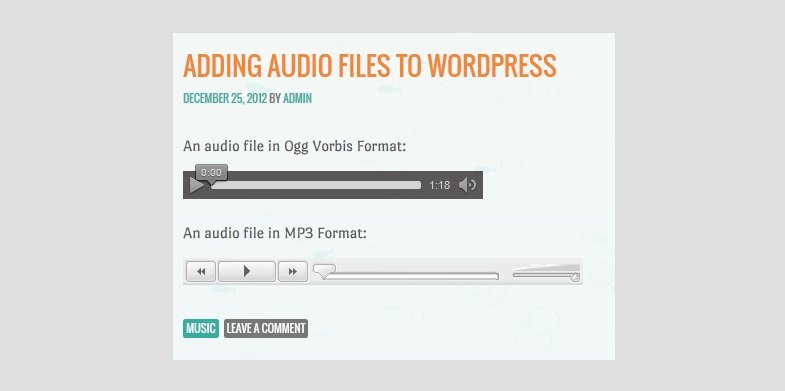
By default, WordPress is capable of handling audio files. This is a simple thing to do. Just the way you can add images in a post, you can insert an audio as well. This has got even easier with HTML, before which there was no standard way one could play audios on a website. Even though Flash was there and was popular, it was not really pleasant. Today, WordPress is able to use HTML5 in order to embed an audio on a website. The audio will be able to play on any browser and device, including on mobiles.
2. Use of WordPress Audio Player
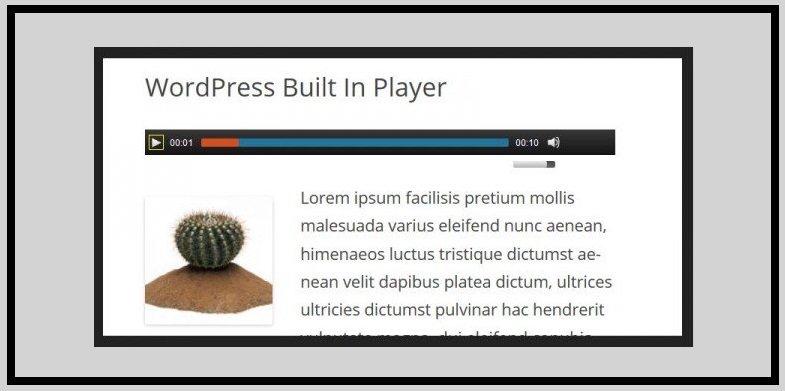
This is the easiest way to add audio to your WordPress website. Use of WordPress’ audio player is easy and therefore can be adopted as the only way out unless if you have some special needs. Through this method, you can add mp3s, m4a, ogg and wav files to your WordPress media library from where it can be inserted into any post of your choice. You are also allowed to add an additional caption to your upload. What you do is to click on the media button on your WordPress website, drag your audio file into the library, then hit ‘upload files’ to upload it. Next, click on Select Files in order to add your audio content to the media library. On your screen, use the right size to fill in the appropriate metadata pertaining to the audio you have uploaded, including information like the title of the audio, the artists, album details, any caption and also description you want your readers to see.
Always ensure that your Embed Media Player option has been selected in order to allow your users to play the audio file straight from that post.
Once everything has been done, click ‘Insert into the Post’ to include the file into that post.
3. Creation of a WordPress Audio Playlist
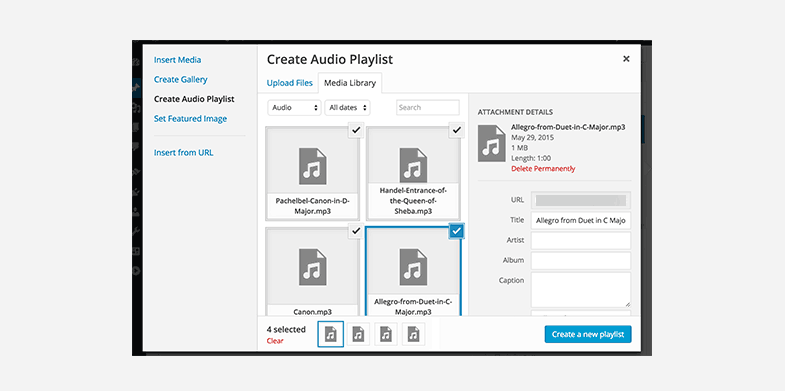
This can be a very useful way of adding audio on your Word press blog if you have more than one audio file to share. Good thing is that WordPress has support for playlists too. What you do in this case is to click on ‘Create Audio Playlist’ on your Media Library, then select all the audio files that you would like to include in that playlist. Once this is done, you can now add any metadata that you would want your users to see pertaining to that playlist. Finally, click on ‘create new playlist’ to build it. You can then select the necessary options that will be used to display your audio files including track list, the name of the artists, artwork and so on. Hit ‘insert audio playlist’ once everything is done and your website users will be able to play all the audio files on your playlist.
4. Embedding audio with SoundCloud’s player
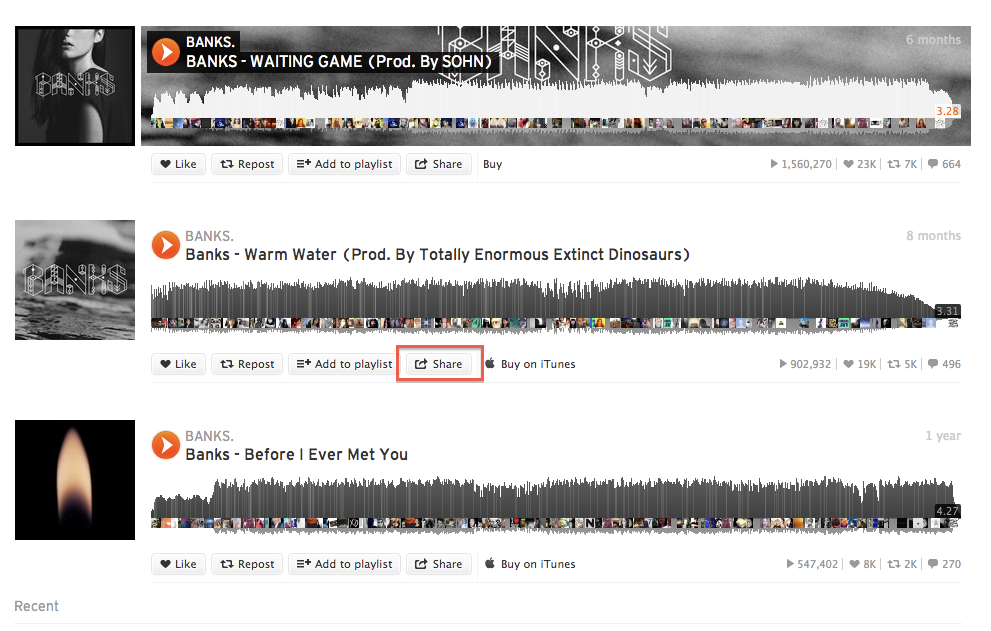
SoundCloud is a service that is being used so much these days by people who want to share music on the web. It works just like YouTube only that it is basically for audio. SoundCloud can be used very easily to host your audio files that you want to embed on your website. It can also be used to share any files that you may already have there with your website users. The service has been designed in such a manner that it can easily embed any content therein on any website. To get started, ensure that all the audio files that you want to share have a share button underneath them, as this is the only way they can be allowed to embed. If all of them have a click on that share button, then click on ‘embed’ and choose between the large square or the smaller rectangular options that pop up. Now, copy that and paste it into the post where you want your files to feature.
5. Use of a WordPress audio plugin
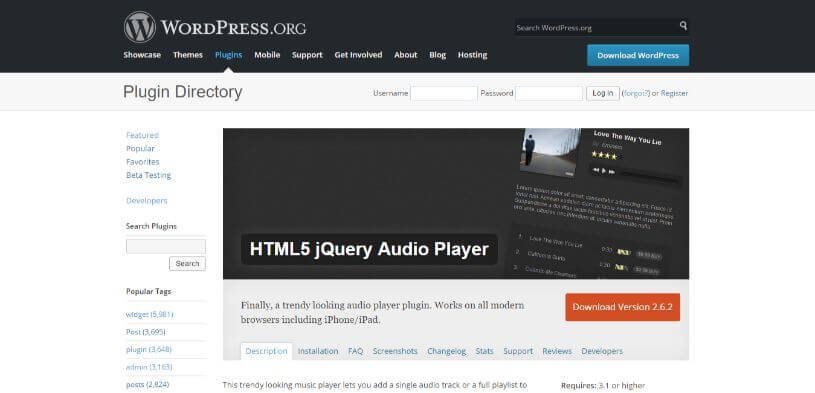
This is the best option for anyone that wants to do more as plugins offer extended functionality as well as greater configuration when compared to WordPress audio player. Good thing is that there are so many options available; therefore, it is easy to find a plugin that will meet your needs easily depending on the kind of functionality you are looking for. Some of the options available include a compact WP audio player.
This is a more compact option that appears just as a play icon. With it, you should be able to add mp3 and ogg files on your WordPress blog. The other best option available is the MP3-jplayer. This is a more flexible option that can be used to expand WordPress’ short codes with new and more options and functions. The plugin has great style, lots of layout options and color. You get to enjoy use of its drag and drop interface too, as well as ability to play audio directly from your media library, URLs and uploaded files.
If you have audio that you would like to share with your website audience, you can easily do it. With more than one way to do it, the only thing you have to do is to pick out a way that best meets your needs.